Desktop App 
This section is about the Aidar.Service Desktop App. The Desktop App allows you to directly contact the Operator and work together.
In this section you will learn how to navigate the Desktop App, make calls, pointing in 3D mesh, how to use the whiteboard, how to send trainings and 3D objects to the operator, how to download a 3D mesh model and how to apply textures to 3D mesh.
Navigation
This is desktop application view. What we see is 3D mesh (real time MR glasses scan of the enviroment) and an actual live camera video from the operator’s glasses.
We can use the icons in the top right corner to change the perspective.
On the left we see navigation bar.
On the bottom we have types of pointers that we can use.

Buttons

Calling
Aidar.Service desktop application allows you to initiate a call with an operator,who is wearing MR glasses and has Aidar.Service MR App enabled.
This allows the operator and the expert to see and hear each other. In addition, the expert can see the 3D environment capture in which the operator is located.
How to call an operator?
- Select contacts icon from the sidebar. A list of all online operators will appear.

- Click on the handset icon. Call initiation will begin.

Statuses: - Online but temporary unavailable - Active
Navigating in 3D mesh
A technician navigating the 3D Mesh can use the mouse, keyboard and keyboard shortcuts.
Mouse navigation
-
Pointing
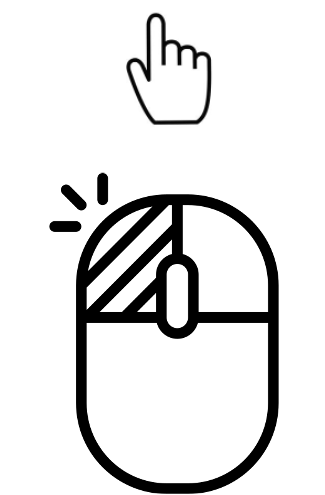 Left click to indicate to the operator where to look.
 -
Move the view
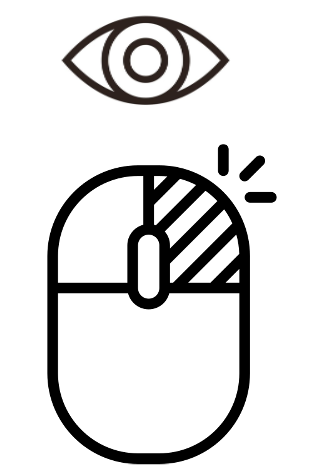 Right click to move the view to the indicated position.
 -
Pan
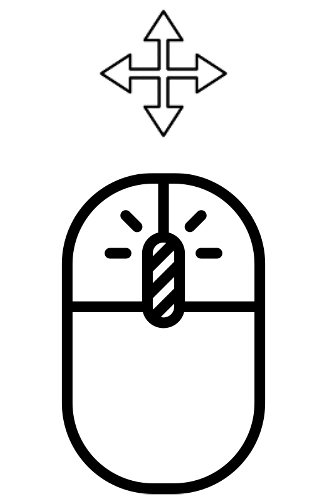 Hold the middle mouse button, then move the pointer.
 -
Zoom
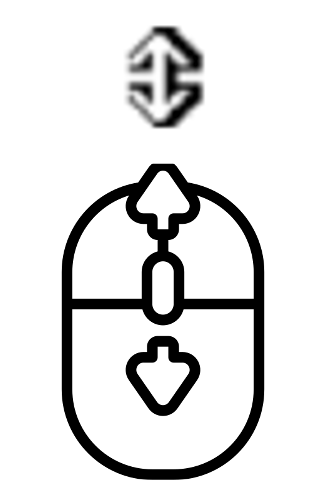 Use the mouse wheel to zoom in and out
 -
Rotate 1
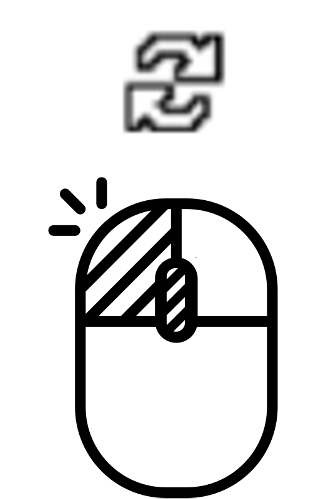 Hold the middle mouse button, press and hold the left mouse button, then move the pointer.
 -
Rotate 2
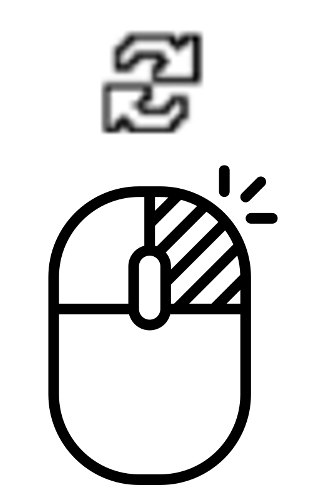 Hold the middle mouse button, press and hold the right mouse button, then move the pointer.
Shortcuts
| Key | Description |
|---|---|
| W | Move forward |
| S | Move backward |
| A | Move left |
| D | Move right |
| Q | Move up |
| E | Move down |
| CTRL + T | Jump in the position TOP over the current position of the operator |
| CTRL + E | Jump in to the “Eye” position of the operator |
Pointing in 3D mesh and live video view
The expert has the possibility of indicating any point in the 3D mesh. This allows an operator wearing MR glasses to follow a indicated path, look in an indicated direction or find a particular item.
How to indicate a point in a 3D mesh?
Find the place or an object you want to point to in the 3D mesh (For instructions on how to navigate 3d mesh, see section 1.3)
-
Click on the desired location in the 3D mesh to launch the indicator.
-
The operator will see a line leading him to the point indicated.
Note
You can change the type of pointer and its size.
Note
You can use the live video view to point to points that are close by (up to a maximum of 1.5 meters). This works the same as pointing points in 3D mesh but use the live video view for that.
Whiteboard for online collaboration (taking a photo)
Whiteboard are a space where an expert and an operator can work together on uploaded images files and photos. The expert can take a photo of what the operator sees or upload an image and point out a detail in the uploaded photo.
How do you take a photo of what the operator sees?
-
Click on the whiteboard icon. You will see two file sharing options.
-
Click on Add new view. A photo of what the operator sees will be taken. Photo taken from the glasses will appear in front of the operator.
-
To create an arrow pointing the detail click on the photo. Your arrow will also be seen by the operator.

Whiteboard for online collaboration (sending a photos)
The expert can upload local photos from his computer (e.g. a scheme, a photo of the component, a map) and point out a detail in it.
How to send an image file to the operator?
-
Click on the Whiteboard icon. You will see two file sharing options.
-
Click on Add new media. Your computer's file manager will open.

-
Select the file in .png or .jpg format that you would like to send to the operator and click Select. The image file will appear in front of the operator.
-
To create an arrow on the photo that the operator will see, click on the desired spot on the photo.
Sharing
Through Aidar.Service Desktop App, the expert can display a webpage to the operator, share documents, graphics and presentation online.
How to display online content to the operator?
-
Click on the File sharing icon. You will see a blank box where you are supposed to enter the website address.
-
Enter url address and click Send. A browser will open in front of the operator with the content of the page you defined.

Note
If you want to send an image file (.jpg or .png) to the operator from the disk of your computer, look in the section 1.6 Whiteboard for online collaboration (sending a photos) and Whiteboard for online collaboration (Web App)
Sending 3D models
It is also possible to send 3D models to the operator. The 3D model you want to upload must be in the Aidar.Service Web library (go to section 4.3 to see how to upload 3D models to the library)
How to send a 3D object to the operator?
- Click on the file Sharing icon. You will see a blank box to enter the 3D model id.

- Enter the 3D model id and click Send. The object will load in front of the operator. (To see where to find the 3D model id go to section 4.3)
Note
3D objects can also be sent to the operator via the Web App without initiating a call. Check the section 3.7 and 3.8.
Downloading 3D mesh
The MR goggles continuously scan the operator's surroundings, creating a 3D environment models. The specialist can download a model locally.
How to export a 3D environment model?
-
Click on the Downloading 3D mesh icon The file explorer will open.
-
Choose where to save the file on your computer, add a name and click Save. The file in .obj format will be saved on your computer.

Note
The operator must have 3D toggle mesh transfer enabled. Check the section 2.2 to see how to activate this feature.
Texture overlay
In the 3D environment capture, the expert can see the outline of the operator's surroundings (3D mesh). The texture overlay tool gives the possibility to take a photo of the object the operator is looking at and overlay it on the 3D mesh. In this way the expert can see a detail of the object in the 3D mesh.
How to apply a texture to an object in 3D mesh?
-
Communicate with the operator and indicate that he/she must stand still and look at the selected object when taking the photo. (Additional information ‘Don’t move' will be displayed to the operator)
-
Click on the texture overlay icon. A photo will be taken and applied to the item. The expert will see the texture of the selected object in 3D mesh.

Note
The operator must have 3D toggle mesh transfer enabled. Check the section 2.2 to see how to activate this feature.